Jun 30, 2012
Lately (as I earlier pointed out on my blog) I’ve been working on improving GNOME’s infrastructure monitoring services. After configuring XMPP it was time to find out a good way for sending out relevant notifications to our IRC channel hosted on GIMPNET. I achieved that with a nice combo: supybot + supybot-notify, all that mixed up with a few grains of Nagios command definitions.
But here we go with a little step-by-step guide:
Requirements
- Install supybot and configure a new installation:
apt-get install supybot or yum install supybot
mkdir /home/$user/nagbot && cd /home/$user/nagbot
supybot-wizard (follow the directions to get the bot initially configured)
- Install and load the supybot-notify plugin by doing:
git clone git://git.fedorahosted.org/supybot-notify.git && cd supybot-notify
mkdir -p /home/$user/nagbot/plugins/notify && cp -r * /home/$user/nagbot/plugins/notify
Finally, load the plugin. (this will require you to authenticate to the bot)
Nagios configuration
Add the relevant command definitions to the commands.cfg file:
# 'notify-by-ircbot' command definition
define command{
    command_name    notify-by-ircbot
    command_line    /usr/bin/printf "%b" "#channel $NOTIFICATIONTYPE$ - $HOSTALIAS$/$SERVICEDESC$ is $SERVICESTATE$: $SERVICEOUTPUT$ ($$(hostname -s))" | nc -w 1 localhost 5050
    }

# 'host-notify-by-ircbot' command definition
define command{
	command_name	host-notify-by-ircbot
	command_line	/usr/bin/printf "%b" "#channel $NOTIFICATIONTYPE$ - $HOSTALIAS$ is $HOSTSTATE$: $HOSTOUTPUT$ ($$(hostname -s))" | nc -w 1 localhost 5050
	}
* adjust the Netcat’s host and port to your needs, in my case Supybot and Nagios were running on the same host. In the case of a Supybot running on a different host than Nagios, tweak Iptables to allow the desired port:
-A INPUT -m state --state NEW,ESTABLISHED -m tcp -p tcp --dport 5050 -j ACCEPT
Add a new entry on the contacts.cfg file:
define contact{
 	contact_name    nagbot
   	use             generic-contact
        alias		Nagios IRC Bot
        email           example@example.com
        service_notification_commands   notify-by-ircbot
 	host_notification_commands      host-notify-by-ircbot
}
Reload Nagios:
sudo /etc/init.d/nagios3 reload
And finally, enjoy the result:
PROBLEM - $hostalias/load average is CRITICAL: CRITICAL - load average: 30.45, 16.24, 7.16 (nagioshost)
 RECOVERY - $hostalias/load average is OK: OK - load average: 0.06, 0.60, 3.65 (nagioshost)
Jan 31, 2012
As per Wikipedia:
Puppet is a tool for managing the configuration of Unix-like systems, declaratively. The developer provides puppet templates for describing parts of the system, and, when these templates are deployed, the runtime puts the managed systems into the declared state.
Puppet consists of a custom declarative language to describe system configuration, distributed using the client-server paradigm (using XML-RPC protocol), and a library to realize the configuration. The resource abstraction layer enables administrators to describe the configuration in high-level terms, such as users, services and packages.
I’ve been playing with the aforementioned tool lately both on my home network and within the Fedora’s Infrastructure team and I thought some of the work I did might be useful for anyone out there being stuck with a Puppet’s manifest or an ERB template.
Snippet #1: Make sure the user ‘foo’ is always created with its own home directory, password, shell, and full name.
class users {
    users::add { "foo":
        username        => 'foo',
        comment         => 'Foo's Full Name',
        shell           => '/bin/bash',
        password_hash   => 'pwd_hash_as_you_can_see_in_/etc/shadow'
    }

define users::add($username, $comment, $shell, $password_hash) {
    user { $username:
        ensure => 'present',
        home   => "/home/${username}",
        comment => $comment,
        shell  => $shell,
        managehome => 'true',
        password => $password_hash,
    }
  }
}
Snippet #2: Make sure the user ‘foo’ gets added into /etc/sudoers.
class sudoers {

file { "/etc/sudoers":
      owner   => "root",
      group   => "root",
      mode    => "440",
     }
}

augeas { "addfootosudoers":
  context => "/files/etc/sudoers",
  changes => [
    "set spec[user = 'foo']/user foo",
    "set spec[user = 'foo']/host_group/host ALL",
    "set spec[user = 'foo']/host_group/command ALL",
    "set spec[user = 'foo']/host_group/command/runas_user ALL",
  ],
}
Snippet #3: Make sure that openssh-server is: installed, running on Port 222 and accepting RSA authentications only.
class openssh-server {

  package { "openssh-server":
      ensure => "installed",
  }

    service { "ssh":
        ensure    => running,
        hasstatus => true,
        require   => Package["openssh-server"],
    }

augeas { "sshd_config":
  context => "/files/etc/ssh/sshd_config",
    changes => [
    "set PermitRootLogin no",
    "set RSAAuthentication yes",
    "set PubkeyAuthentication yes",
    "set AuthorizedKeysFile	%h/.ssh/authorized_keys",
    "set PasswordAuthentication no",
    "set Port 222",
  ],
 }
}
Snippet #4: Don’t apply a specific IPTABLES rule if an host is tagged as ‘staging’ in the relevant node file.
On templates/iptables.erb:
# Allow unlimited traffic on eth0
-A INPUT -i eth0 -j ACCEPT
-A OUTPUT -o eth0 -j ACCEPT

# Allow unlimited traffic from trusted IP addresses
-A INPUT -s 192.168.1.1/24 -j ACCEPT

<% if environment == "production" %>

-A INPUT -m state --state NEW -m tcp -p tcp --dport 22 -j ACCEPT
-A INPUT -m state --state NEW -m tcp -p tcp --dport 25 -j ACCEPT
-A INPUT -m state --state NEW -m tcp -p tcp --dport 80 -j ACCEPT

<% unless defined?(staging).nil? %>
-A INPUT -s X.X.X.X -j REJECT --reject-with icmp-host-prohibited
<% end -%>

<% end -%>
On the manifest file:
class iptables {
    package { iptables:
        ensure => installed;
    }

    service { "iptables":
        ensure    => running,
        hasstatus => true,
        require   => Package["iptables"],
    }

    file { "/etc/sysconfig/iptables":
        owner   => "root",
        group   => "root",
        mode    => 644,
        content => template("iptables/iptables.erb"),
        notify  => Service["iptables"],
    }
}
That’s all for now!
Sep 11, 2011
A few days ago I blogged about my main computer’s configuration files and desktop’s appearance and today I managed to add a few little tweaks to those, they are:
- Google’s contacts list integrated into Mutt
- a cleaner and nicer Login screen
Curious to know how you can easily integrate your Google’s contacts into Mutt? Well, you should be able to achieve that within a few minutes after reading this small HowTo:
1. Download and install goobook as explained here.
2. Setup a .goobookrc file into your Home directory. It should look like this:
machine google.com
login example@gmail.com
password yourpassword
3. Add the relevant configuration bits into your /etc/Muttrc file:
set query_command="goobook query '%s'"
bind editor  complete-query
macro index,pager a ";goobook add" "Add sender's address to your Google contacts"
4. Your configuration should be good to go now, so here’s a few examples on goobook’s usage within Mutt:
- Use TAB if you want to auto-complete a mail address when specifying the To: field.
- Use the A key if you want to add sender’s address to your Google contacts.
- Use the Q key for querying your contacts list.
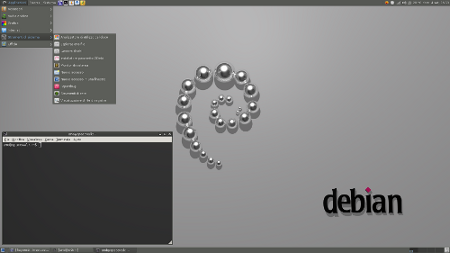
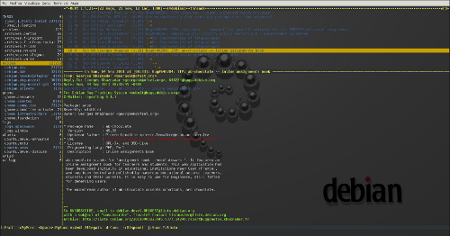
We can now move on on customizing your Login Screen running GDM3. Let’s begin with a screenshoot:

I definitely love it, it’s clear and clean and most of all it has everything I need, no extra toolbars or menus. If you agree with me, open up the /etc/gdm3/greeter.gconf-defaults file and do the needed changes. This is how your greeter.gconf-defaults file should look like:
/desktop/gnome/background/picture_filename      /path/to/your/dusty-bg/file # dusty's background can be downloaded here.
/desktop/gnome/interface/gtk_theme              Darklooks # this is my main theme, feel free to adapt that to your needs.
/apps/gdm/simple-greeter/logo_icon_name         debian-swirl # this is the default on Debian's systems.
/desktop/gnome/sound/event_sounds               false # I don't like hearing any sound when when I am prompted to insert my user's details on the Login Screen.
/apps/gdm/simple-greeter/disable_user_list      true # users list will be disabled, you won't be able to select your username from a list but you'll have to insert that yourself.
/apps/metacity/general/compositing_manager      false # default, no need to change this.
/apps/gnome-power-manager/ui/icon_policy        never # default, no need to change this.
We are close to the end but we are missing an important detail: how can you safely remove bottom’s toolbar and menus for a clearer and cleaner Login Screen? Open up the /var/lib/gdm3/.gconf.mandatory/%gconf-tree.xml file, search for the <dir name=“general”> section and apply the following change:
- <entry name="compositing_manager" mtime="1315580582" type="bool" value="false"/>;
+ <entry name="compositing_manager" mtime="1315580582" type="bool" value="true"/>
But what if you prefer keeping the toolbar as it is, but you definitely don’t like seeing the Accessibility icon appearing on your Login Screen? On the same file as above, search for the <dir name=“general”> section and modify the following string as it follows:
- <entry name="enable" mtime="1315580582" type="bool" value="true"/>
+ <entry name="enable" mtime="1315580582" type="bool" value="false"/>
See you on my next blog post and don’t forget to have a look at my GitHub’s repository! Oh…and follow me on Twitter!
Sep 4, 2011
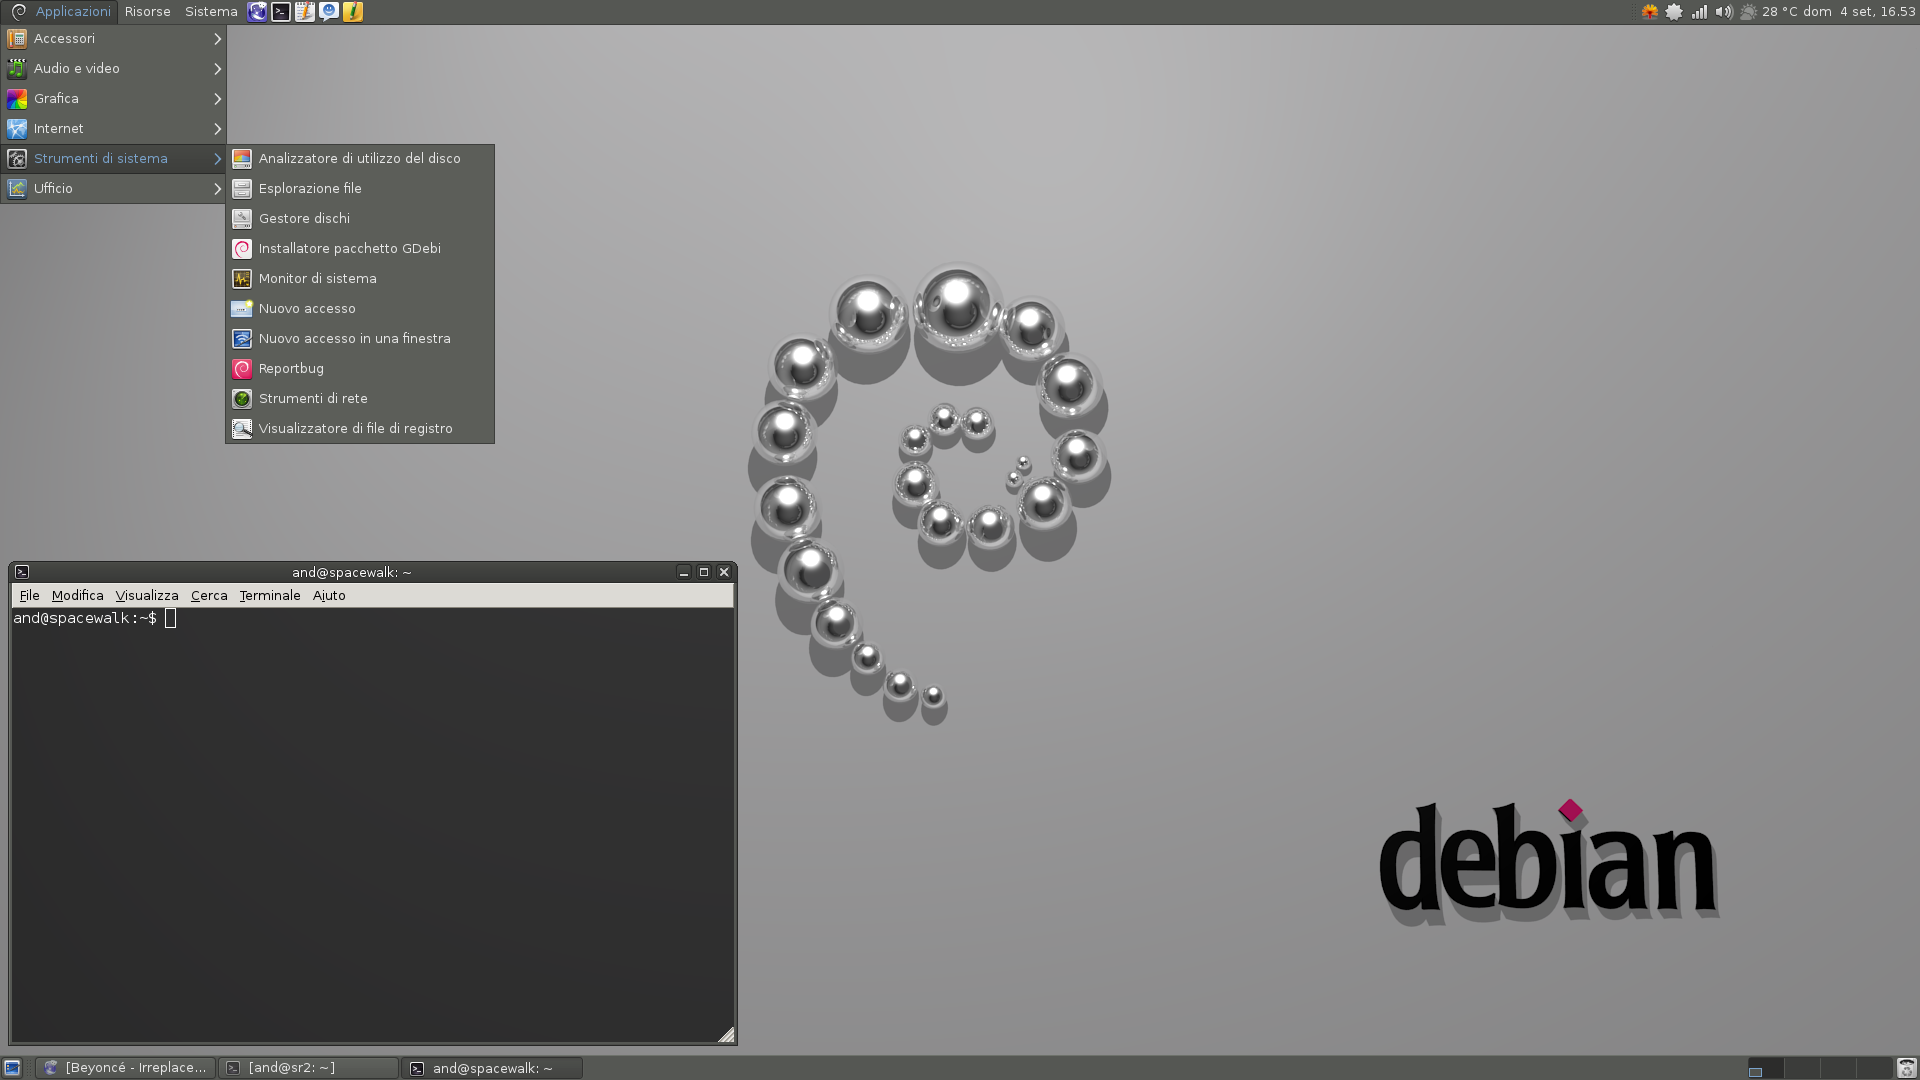
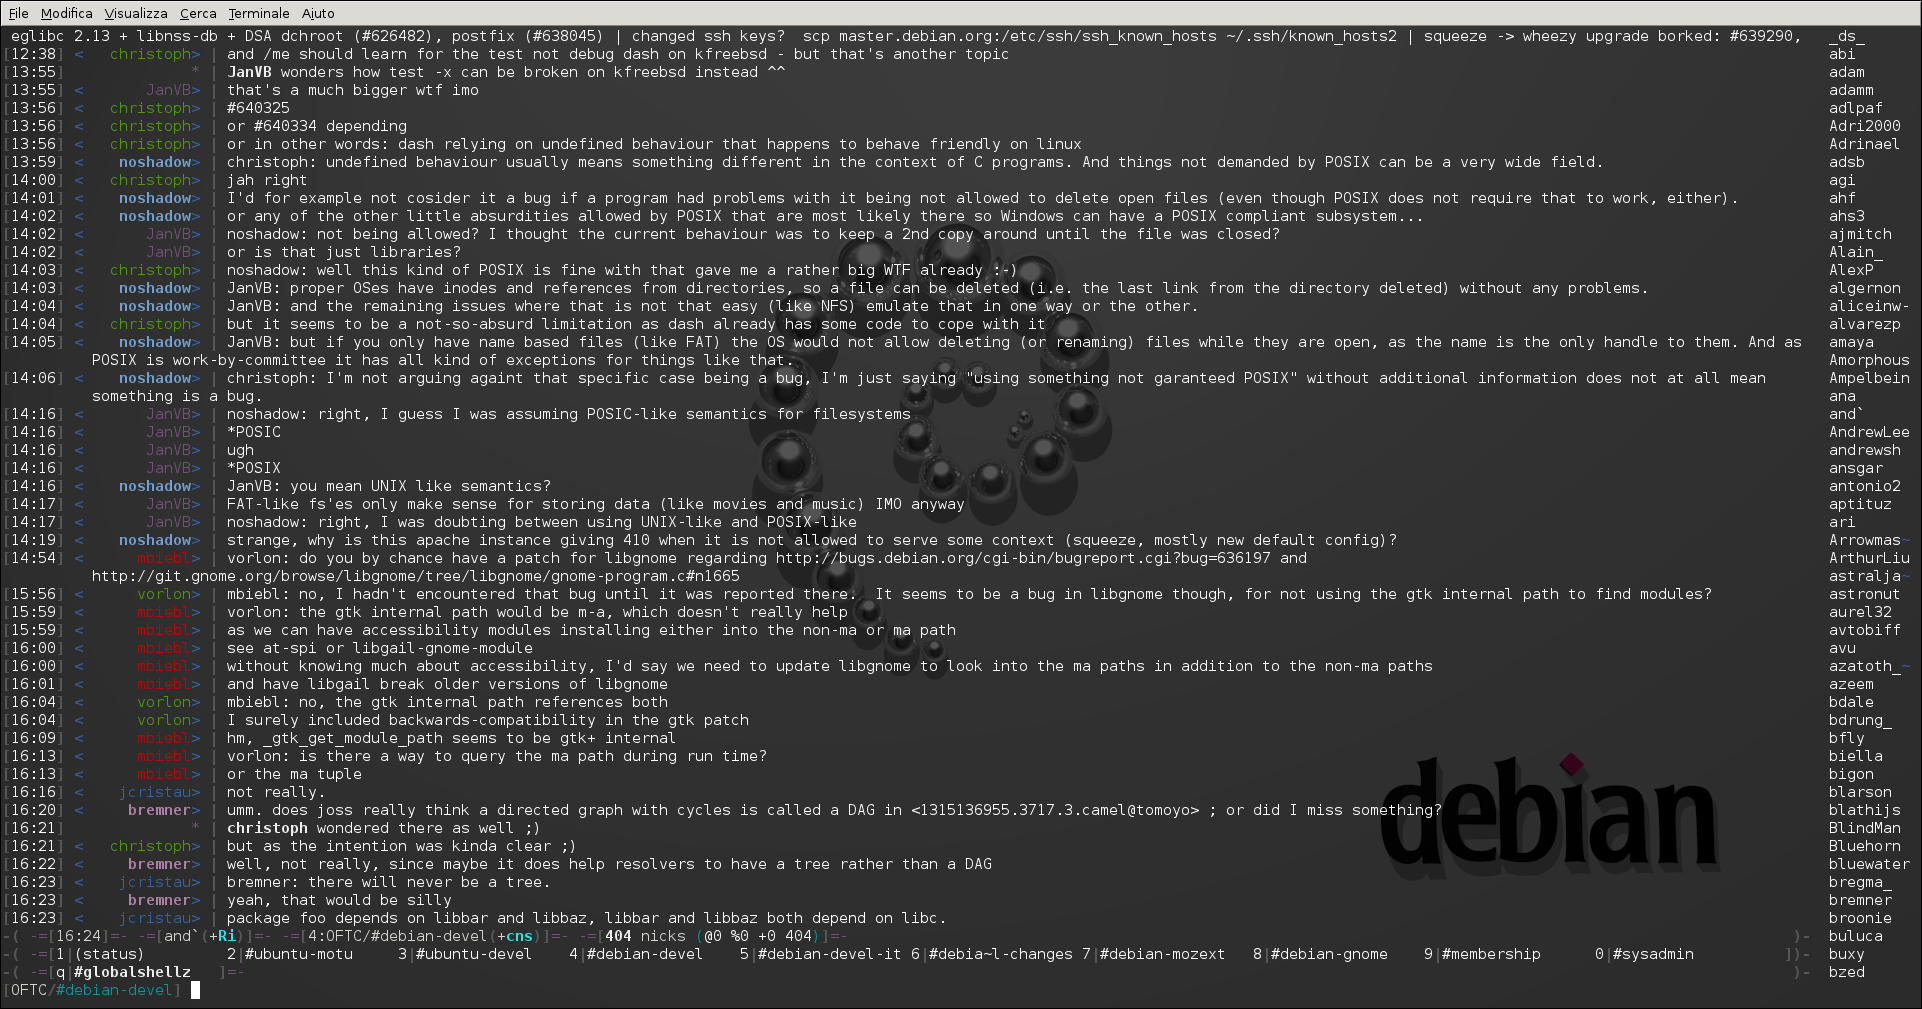
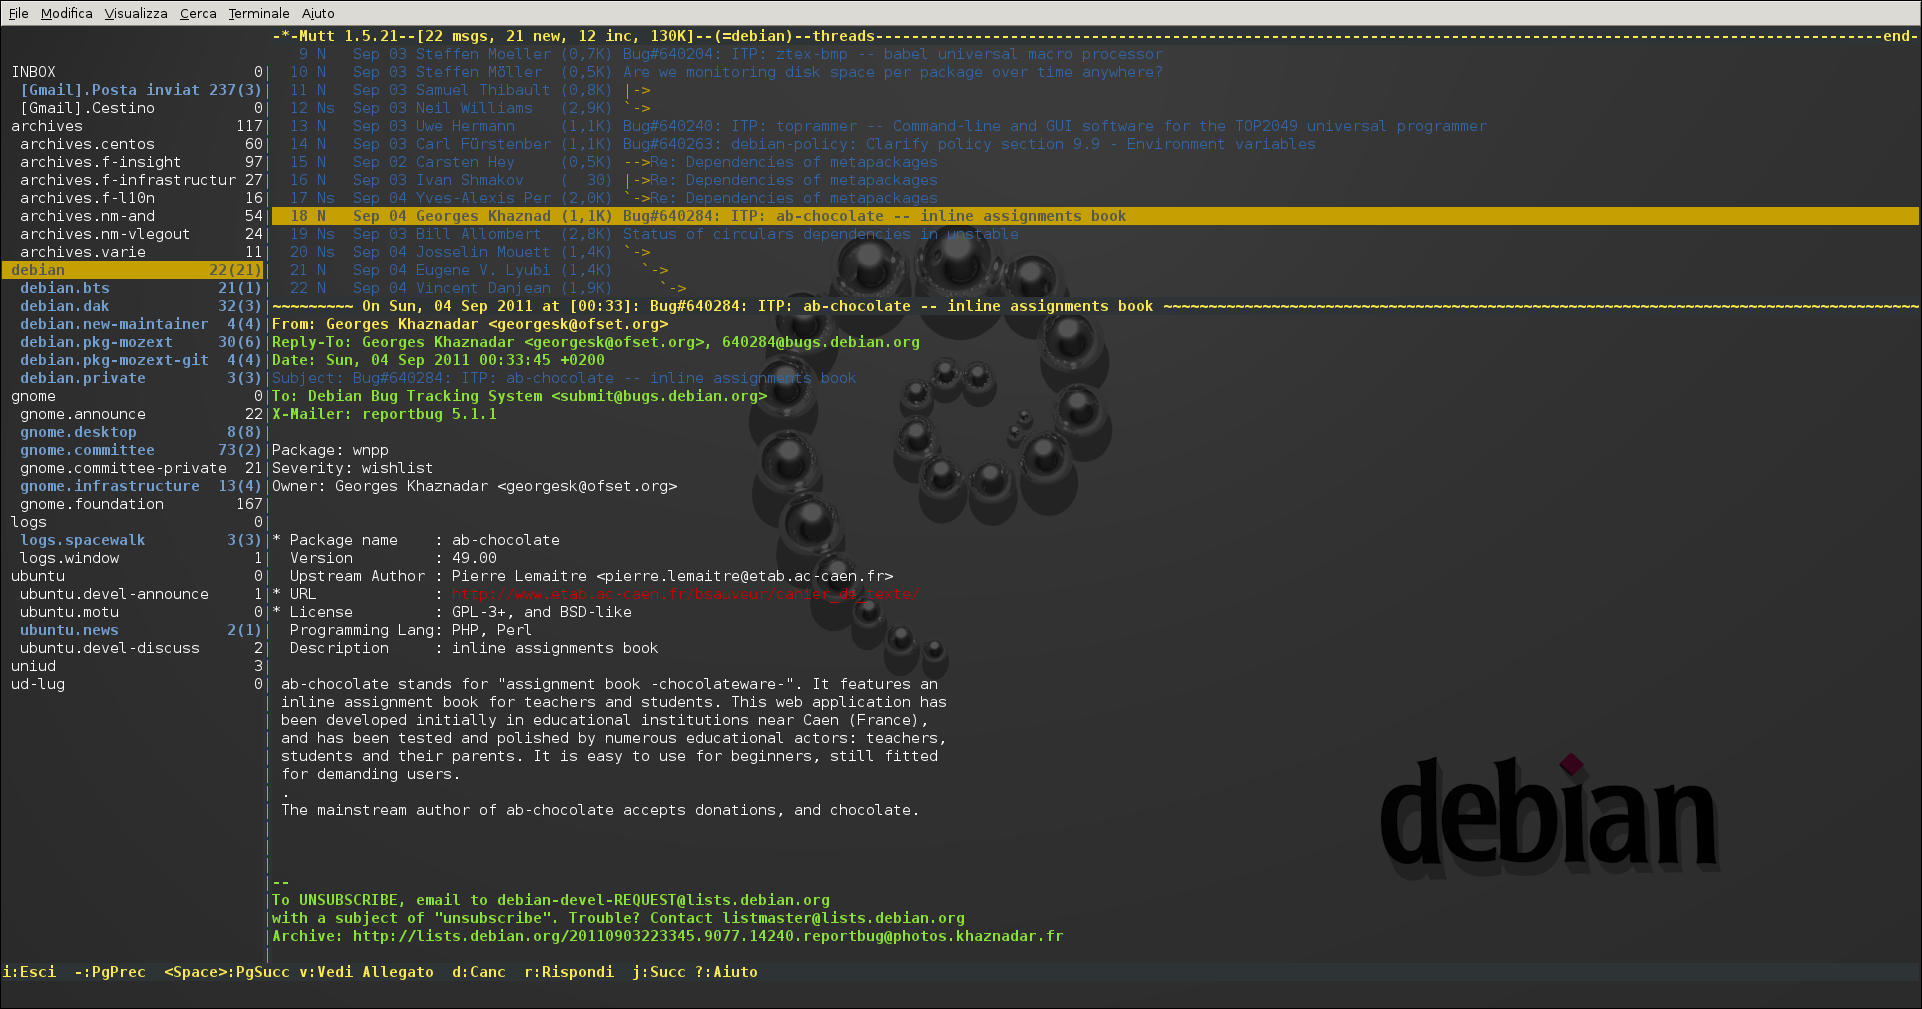
I bought a new PC a few weeks ago and I then decided to renew a bit my Desktop, my Mutt and my Irssi setup. I’ve been spending several hours cleaning up old scripts, logs and configuration files but the result definitely seems to reward me the right way. But here they come a few screenshots:
Desktop
Irssi

Mutt
If you liked all the above and would like to reproduce everything yourself, you should consider having a look at my GitHub’s repository. See you on the next blog post!
Jul 25, 2011
I’ve actually spent a few hours searching around for a good backup solution for my mailbox until I decided to stick with getmail. What you’ll be able to achieve after reading this HowTo and deploying the following setup is:
- A full backup of your e-mail DATA in the Mbox format. (yes, Gmail’s labels / folders as well)
- Prevent getmail to mark all mails as read after delivering them. (this was a pretty bad issue since getmail was marking all my mails as read even if I did not access my e-mail at all)
- Keep your backups up-to-date with the latest content from your mailbox. (by default getmail grabs all the DATA from your mailbox and fills up the Mbox / Maildir content keeping deleted mails. So let’s say I deleted a mail two days ago, well it’ll still appear on today’s backups. This behaviour is definitely unwanted)
I’ll now move to explain a few details about my new configuration but before moving to tweak getmail’s main config file, please do the following change on _retrieverbases.py* :
return self._getmsgpartbyid(msgid, '(RFC822)')
to
return self._getmsgpartbyid(msgid, '(BODY.PEEK[])')
When done grab the following getmailrc and adapt it to your needs**:
[retriever]
type = SimpleIMAPSSLRetriever ## or SimplePOP3SSLRetriever.
server = imap.gmail.com ## or pop.gmail.com for POP3.
username = example@gmail.com
password = password

## so-called Gmail's labels should be listed one by one here for getmail to retrieve mail from them successfully.

mailboxes = ("INBOX", "[Gmail]/Sent mail",
"ubuntu", "gnome/example", "linux/example")

[destination]
type = Mboxrd
path = ~/.getmail/backup.mbox

[options]
delivered_to = false ## No delivered_to header added automatically.
received = false ## No received header added automatically.
verbose = 2 ## getmail will print messages about each of its actions.
When done we should go ahead setting up getmail’s directories and config file:
mkdir $HOME/.getmail
cp $HOME/getmailrc $HOME/.getmail/
Adapt $HOME/getmailrc to whatever dir you put that file into. But…pretty much all the remaining work will be done by a small shell script I wrote:
#!/bin/sh

WORKDIR=$HOME/.getmail
date=`date "+%d-%m-%Y_%H:%M"`

if [ ! -f  $WORKDIR/backup.mbox ]
then
touch $WORKDIR/backup.mbox
fi

getmail > $WORKDIR/getmail.log
OUT=$?
if [ $OUT -eq 0 ]
then
mkdir -p $WORKDIR/backups/ && { mv $WORKDIR/backup.mbox $WORKDIR/backups/backup_$date.mbox ;}
else [ $OUT -eq 1 ]
exit 1
fi

## Cleanup older than 3 days backups
find $WORKDIR/backups/* -mtime +3 -exec rm {} ;
cd $WORKDIR && { rm -rf oldmail-* ;}
This script will:
- Run getmail using the getmailrc config file you previously worked on.
- If the above command will be successful, it’ll create a_ backups_ dir into $HOME/.getmail and move the latest Mbox file there appending a date and time to its name. (by doing this we are sure next getmail run will happen on an empty backup.mbox file, thus it will just contain the latest content from your mailbox)
- It’ll re-create a backup.mbox file on $HOME/.getmail to avoid the next getmail run to fail.
- In the end, it’ll clean up older than 3 days backups to avoid a too crowded backups folder. (it removes the oldmail file as well since it is useless in our case)
In the end set up a cronjob that will run the above script and generate the backups for you every one hour:
0 * * * * $HOME/.getmail/getmail_run.sh > /dev/null
Feel free to let me know if you’ve encountered any issue while following the above HowTo. Enjoy!
* /usr/share/getmail4/getmailcore/_retrieverbases.py on line 901.
** More documentation about the getmailrc file and syntax can be found on getmail’s documentation page.