Configuring DNSSEC on your personal domain
13 Nov 2013
Today I’ll be working out how to properly configure DNSSEC on a BIND9 installation, I’ll also make sure to give you all the needed instructions to properly verify if a specific domain is being correctly covered by DNSSEC itself. In addition to that a few more details will be provided about adding the relevant SSHFP‘s entries on your DNS zone files to be able to automatically verify the authenticity of your domain when connecting to it with SSH avoiding any possible MITM attack.
First of all, let’s create the Zone Signing Key (ZSK) which is the key that will be responsible to sign any other record on the zone file which is not a DNSKEY record itself:
dnssec-keygen -a RSASHA1 -b 1024 -n ZONE gnome.orgNote: the dnssec-keygen binary file should be part of bind97 (RHEL 5) or bind (RHEL6) package according to yum whatprovides:
RHEL 5:
32:bind97-9.7.0-17.P2.el5_9.2.x86_64 : The Berkeley Internet Name Domain (BIND) DNS (Domain Name System) server
Repo : rhel-x86_64-server-5
Matched from:
Filename : /usr/sbin/dnssec-keygen
RHEL 6:
32:bind-9.8.2-0.17.rc1.el6.3.x86_64 : The Berkeley Internet Name Domain (BIND) DNS (Domain Name System) server
Repo : rhel-x86_64-server-6
Matched from:
Filename : /usr/sbin/dnssec-keygen
Then, create the Key Signing Key (KSK), which will be used to sign all the DNSKEY records:
dnssec-keygen -a RSASHA1 -b 2048 -n ZONE -f KSK gnome.orgCreating the above keys can take several minutes, when done copy the public keys to the zone file this way:
cat Kgnome.org*.key >> gnome.orgWhen done you can clean out the useless bits from the zone file and just leave the DNSKEY records (which are not commented out as you will notice)
An additional and cleaner way of accomplishing the above is to use the INCLUDE rule on the zone file itself as follows:
$INCLUDE /srv/dnssec-keys/Kgnome.org+005+12345.key
$INCLUDE /srv/dnssec-keys/Kgnome.org+005+67890.key
Choosing which method to use is really up to you.
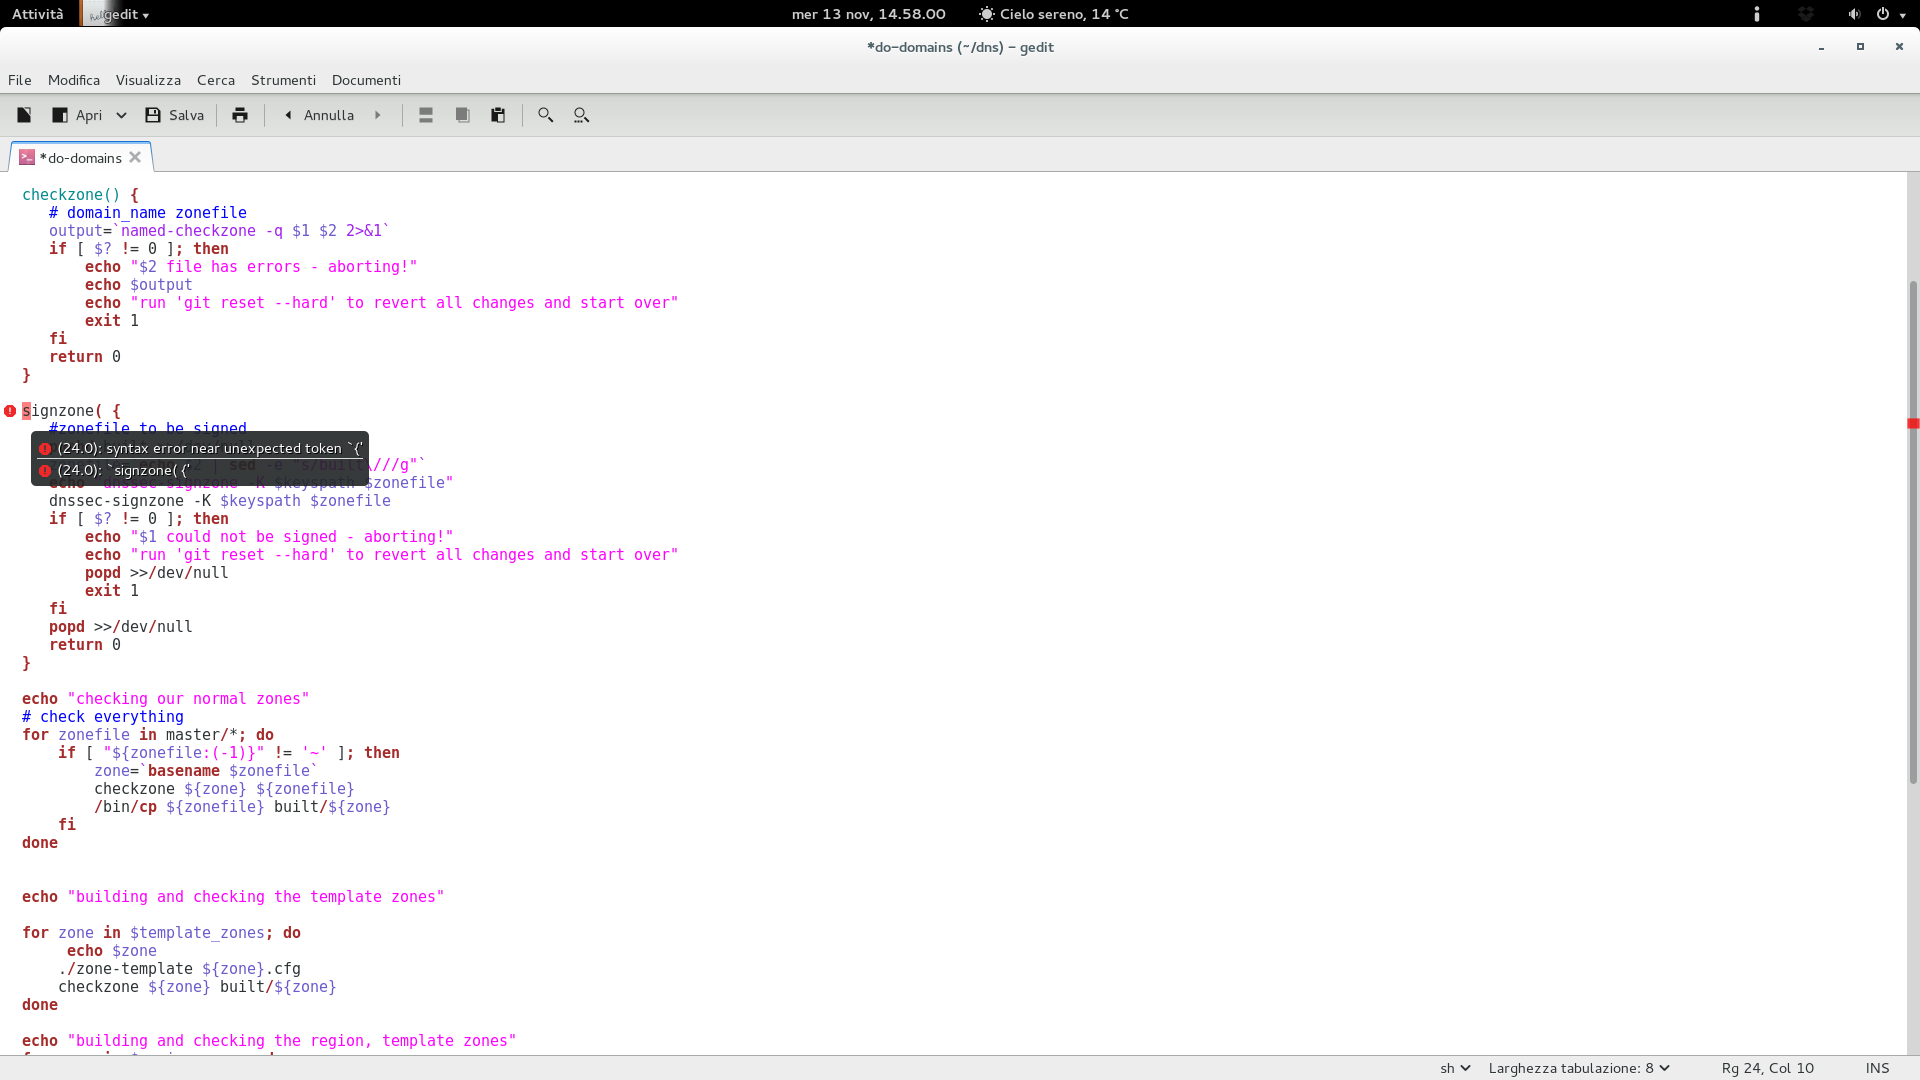
Once that is done you can go ahead and sign the zone file. As of myself I’m making use of the do-domain script taken from the Fedora Infrastructure Team’s repositories. If you are going to use it yourself, make sure to adjust all the relevant variables to match your setup, especially keyspath, region_zones, template_zone, signed_zones and AREA. The do-domain script also checks your zone file through named-checkzone before signing it.
If instead you don’t want to use the script above, you can sign the zone file manually in the following way:
dnssec-signzone -K /path/to/your/dnssec/keys -e +3024000 -N INCREMENT gnome.orgBy default, the above command will append ‘.signed’ to the file name, you can modify that behaviour by appending the ‘-f’ flag to the dnssec-signzone call. The ‘-N INCREMENT’ will increment the serial number automatically making use of the RFC 1982 arithmetics while the ‘-e’ flag will extend the zone signature end date from the default 30 days to 35. (this way we can safely run a monthly cron job that will sign the zone file automatically)
You can make use of the following script to achieve the above:
#!/bin/sh
SIGNZONE="/usr/sbin/dnssec-signzone"
DNSSEC_KEYS="/srv/dnssec-keys"
NAMEDCHROOT="/var/named/chroot"
ZONEFILES="gnome.org"

cd $NAMEDCHROOT

for ZONE in $ZONEFILES; do
$SIGNZONE -K $DNSSEC_KEYS -e +3024000 -f $ZONE.signed -N INCREMENT $ZONE
done

/sbin/service named reload
Once the zone file has been signed just make sure to include it on named.conf and restart named:
zone "gnome.org" {
file "gnome.org.signed";
};
When you’re done with that we should be moving ahead adding a DS record for our domain at our domain registrar. My example is taken from the known gandi.net registrar.
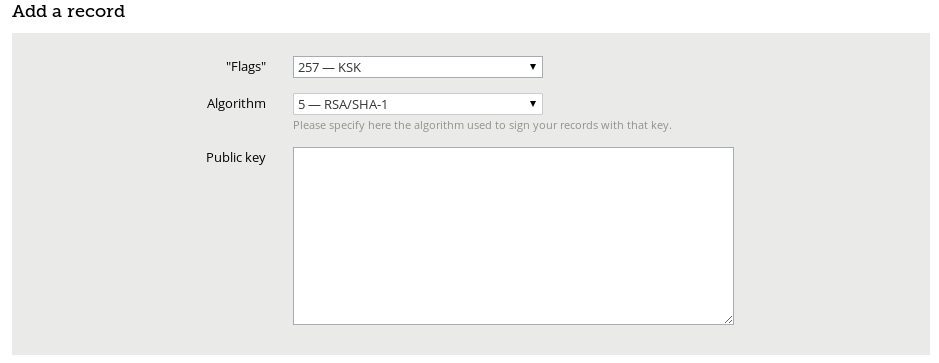
Select KSK (257) and (RSA/SHA-1) on the dropdown list and paste your public key on the box. You will find the public key you need on one of the Kgnome.org*.key files, you should look for the DNSKEY 257 entry as ‘dig DNSKEY gnome.org‘ shows:
;; ANSWER SECTION:
gnome.org. 888 IN DNSKEY 257 3 5 AwEAAbRD7AymDFuKc2iXta7HXZMleMkUMwjOZTsn4f75ZUp0of8TJdlU DtFtqifEBnFcGJU5r+ZVvkBKQ0qDTTjayL54Nz56XGGoIBj6XxbG8Es+ VbZCg0RsetDk5EsxLst0egrvOXga27jbsJ+7Me3D5Xp1bkBnQMrXEXQ9 C43QfO2KUWJVljo1Bii3fTfnHSLRUsbRn8Puz+orK71qxs3G9mgGR6rm n91brkpfmHKr3S9Rbxq8iDRWDPiCaWkI7qfASdFk4TLV0gSVlA3OxyW9 TCkPZStZ5r/WRW2jhUY/kjHERQd4qX5dHAuYrjJSV99P6FfCFXoJ3ty5 s3fl1RZaTo8=
Once that is done you should have a fully covered DNSSEC domain, you can verify that this way:
dig . DNSKEY | grep -Ev '^($|;)' > root.keys

dig +sigchase +trusted-key=./root.keys gnome.org. A | cat -n
The result:
105 ;; WE HAVE MATERIAL, WE NOW DO VALIDATION
106 ;; VERIFYING DS RRset for org. with DNSKEY:59085: success
107 ;; OK We found DNSKEY (or more) to validate the RRset
108 ;; Ok, find a Trusted Key in the DNSKEY RRset: 19036
109 ;; VERIFYING DNSKEY RRset for . with DNSKEY:19036: success
110
111 ;; Ok this DNSKEY is a Trusted Key, DNSSEC validation is ok: SUCCESS
Bonus content: Adding SSHFP entries for your domain and verifying them
You can retrieve the SSHFP entries for a specific host with the following command:
ssh-keygen -r $(hostname --fqdn) -f /etc/ssh/ssh_host_rsa_key.pubWhen retrieved just add the SSHFP entry on the zone file for your domain and verify it:
ssh -oVerifyHostKeyDNS=yes -v subdomain.gnome.orgOr directly add the above parameter into your /etc/ssh/ssh_config file this way:
VerifyHostKeyDNS=yesAnd run ‘ssh -v subdomain.gnome.org’, the result you should receive:
debug1: Server host key: RSA 00:39:fd:1a:a4:2c:6b:28:b8:2e:95:31:c2:90:72:03
debug1: found 1 secure fingerprints in DNS
debug1: matching host key fingerprint found in DNS
debug1: ssh_rsa_verify: signature correct
That’s it! Enjoy!